
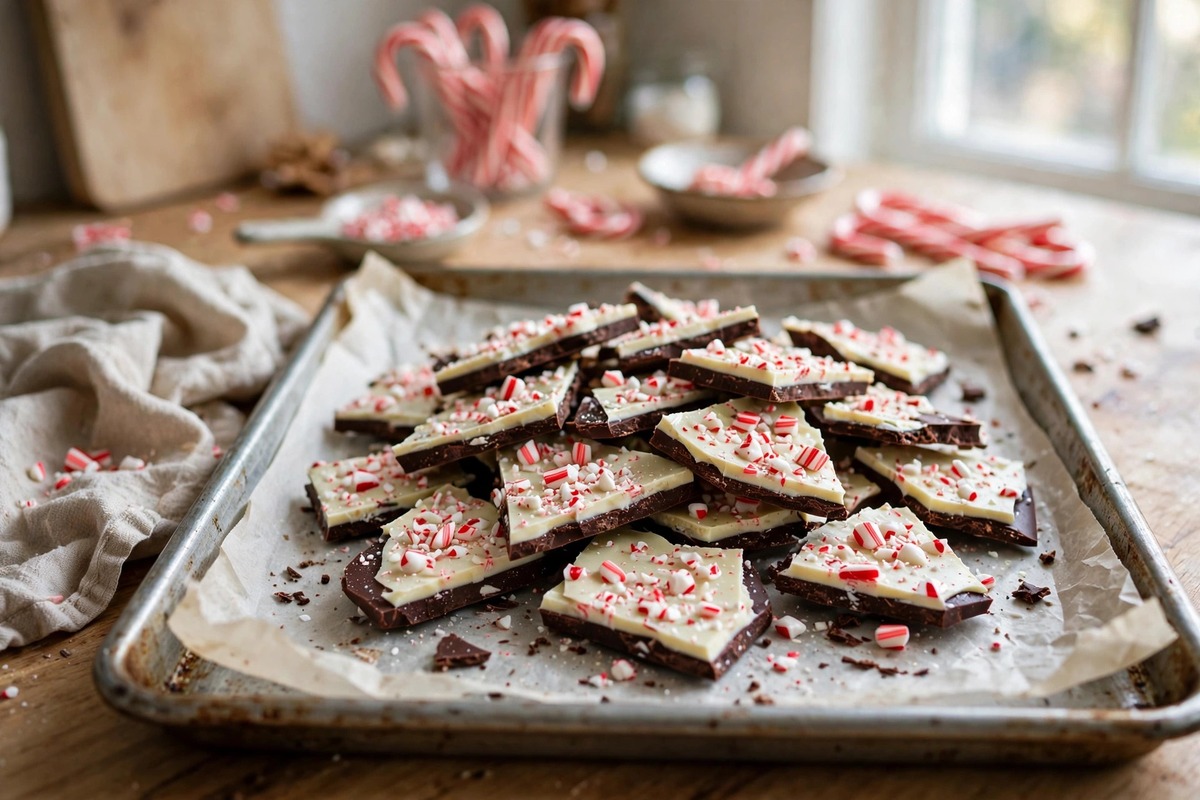
This peppermint bark recipe is the easiest Christmas candy you can make. A layer of dark chocolate, a layer of creamy white chocolate, and a crunchy topping of crushed candy canes. It looks like something from a candy shop, but you only need three main ingredients and no oven.
I make peppermint bark every December for gift tins, because it looks fancy and takes almost no time. A few pieces wrapped in cellophane with a ribbon have saved me more than once when I needed a last minute gift. My kids love crushing the candy canes, which is half the fun.
Quick facts: This peppermint bark recipe takes 20 minutes of active time plus about 1 hour of chilling, and makes about 30 pieces.
Making a gift box? Pair it with my chocolate peppermint cookies recipe and my peanut butter fudge recipe. Save it to your Christmas Candy board on Pinterest.
Why You Will Love This Peppermint Bark Recipe
- Three ingredients. Dark chocolate, white chocolate, and candy canes.
- No bake. The fridge does the work.
- Gift ready. It looks beautiful in a tin or cellophane bag.
- Fast. 20 minutes of work.
- Make ahead friendly. Keeps for weeks.
Ingredients for Peppermint Bark
- 12 ounces semi-sweet or dark chocolate, chopped or chips
- 12 ounces white chocolate, chopped (use bars if you can)
- 1 teaspoon peppermint extract, divided (optional)
- ½ cup crushed candy canes (about 6 to 8 regular canes)
Ingredient Notes
- White chocolate: Look for one that lists cocoa butter. Chopped white chocolate bars melt more smoothly than chips.
- Peppermint extract: Use pure peppermint extract, just ½ teaspoon per layer. More can make the chocolate thick.
- Candy canes: Crush in a zip bag with a rolling pin, leaving some fine dust and some larger pieces.
How to Make Peppermint Bark
Step 1: Prep the pan
Line a 9×13 inch pan with parchment paper, leaving overhang on two sides.
Step 2: Melt the dark chocolate
Melt the dark chocolate in a dry, microwave-safe bowl on 50% power in 30 second bursts, stirring between each, until smooth. Stir in ½ teaspoon of peppermint extract, if using. Pour into the pan and spread into an even layer.
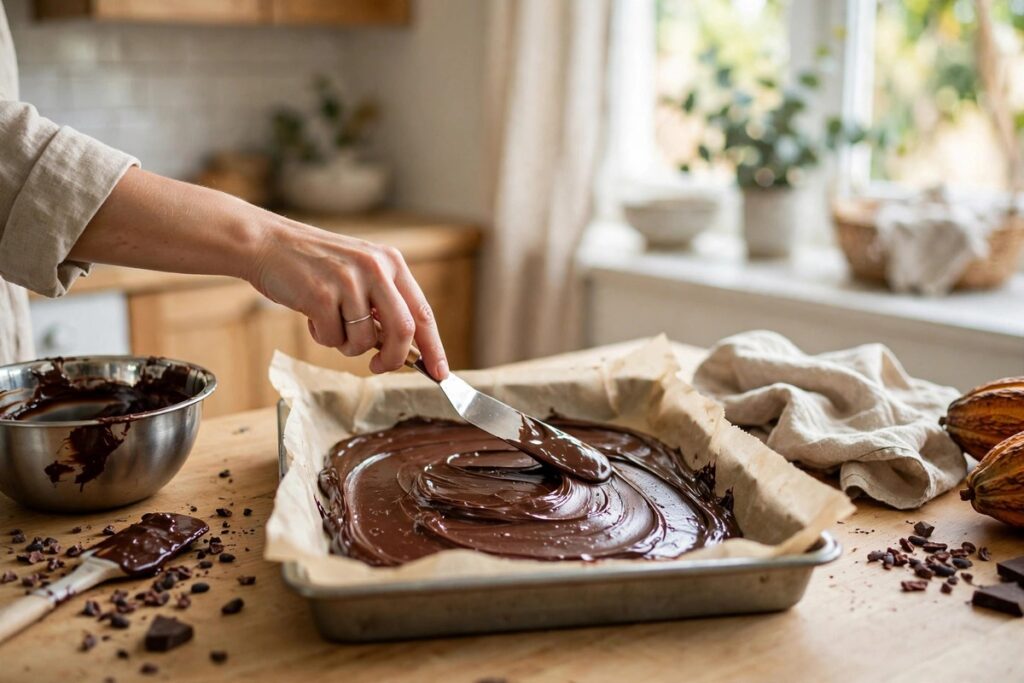
Step 3: Chill
Refrigerate for 15 to 20 minutes, until the chocolate is just set but still slightly tacky.
Step 4: Melt the white chocolate
Melt the white chocolate the same way, using even lower power and stirring often. Stir in the remaining ½ teaspoon extract, if using. Spread over the set dark layer.
Step 5: Add the candy canes
Sprinkle the crushed candy canes over the white chocolate right away, pressing them lightly so they stick.
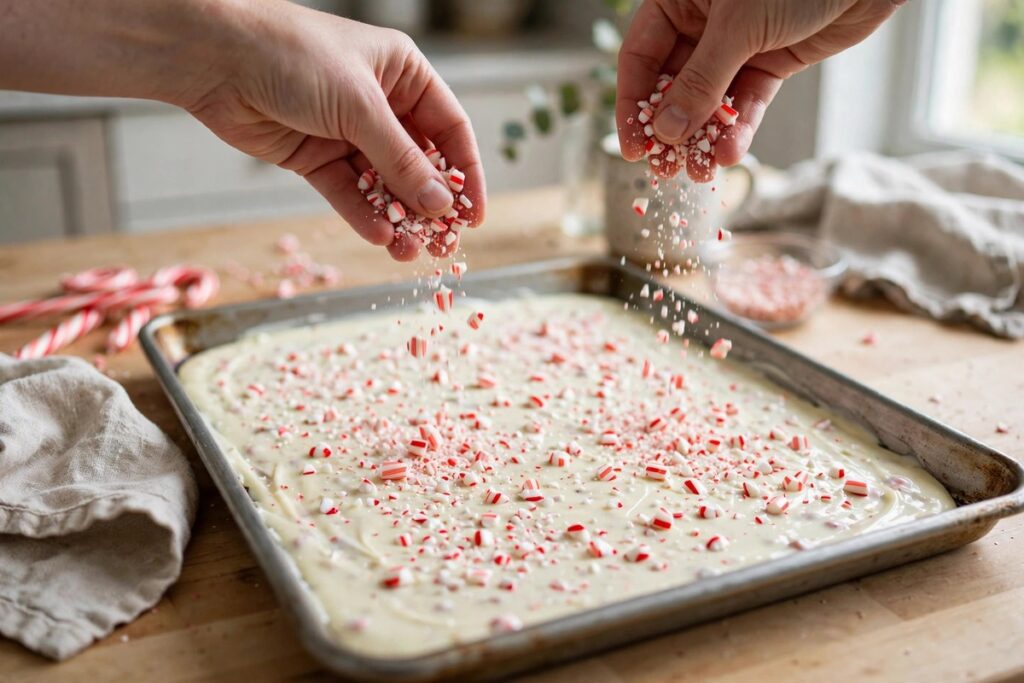
Step 6: Chill and break
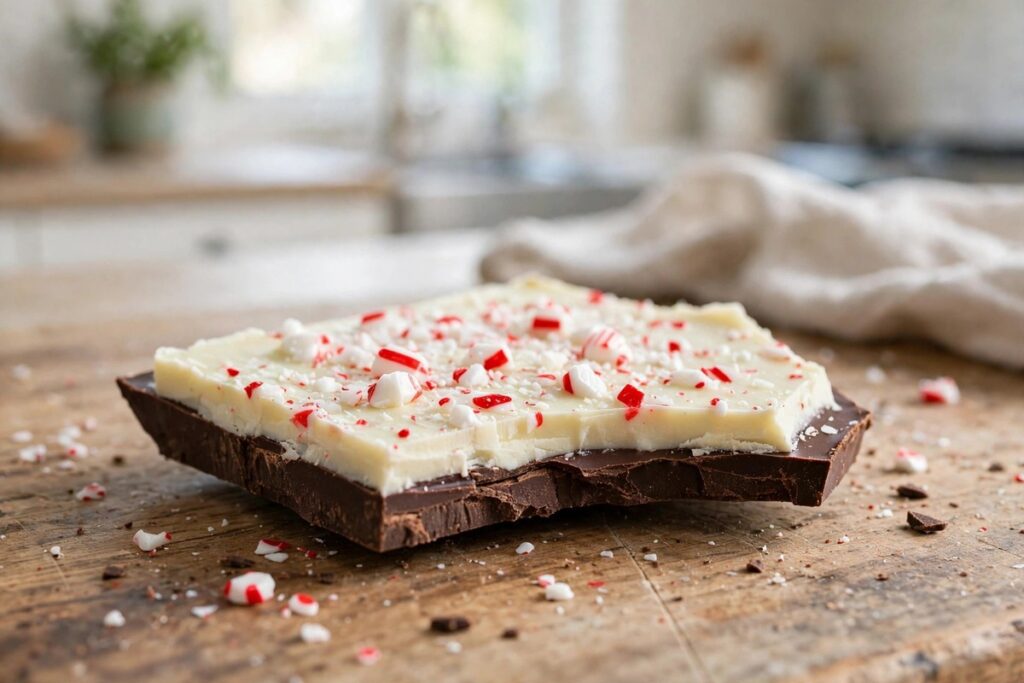
Chill for 1 hour, until firm. Lift out, and break or cut into pieces.
Why This Recipe Works
The first layer is chilled only until set, so the second layer bonds to it instead of sliding off. Melting in short bursts at low power keeps the chocolate smooth, and adding the candy while the white chocolate is still wet makes it stick.
Tips for the Best Peppermint Bark
- Keep everything dry. Olive Magazine explains that even a little water can make chocolate seize into lumps, so use a dry bowl and spoon and keep steam away.
- Use low power in the microwave and stir between bursts.
- Do not chill the first layer too hard. If it is rock hard, the white layer will not bond.
- Add the candy canes right away.
- Store it cool and dry. Humidity makes candy canes sticky.
Variations
Dark chocolate only
Skip the white layer and use all dark chocolate with candy canes on top.
Milk chocolate peppermint bark
Use milk chocolate for the bottom layer for a sweeter bark.
Sprinkle version
Add white sprinkles or crushed peppermint candies alongside the candy canes.
What to Serve With Peppermint Bark
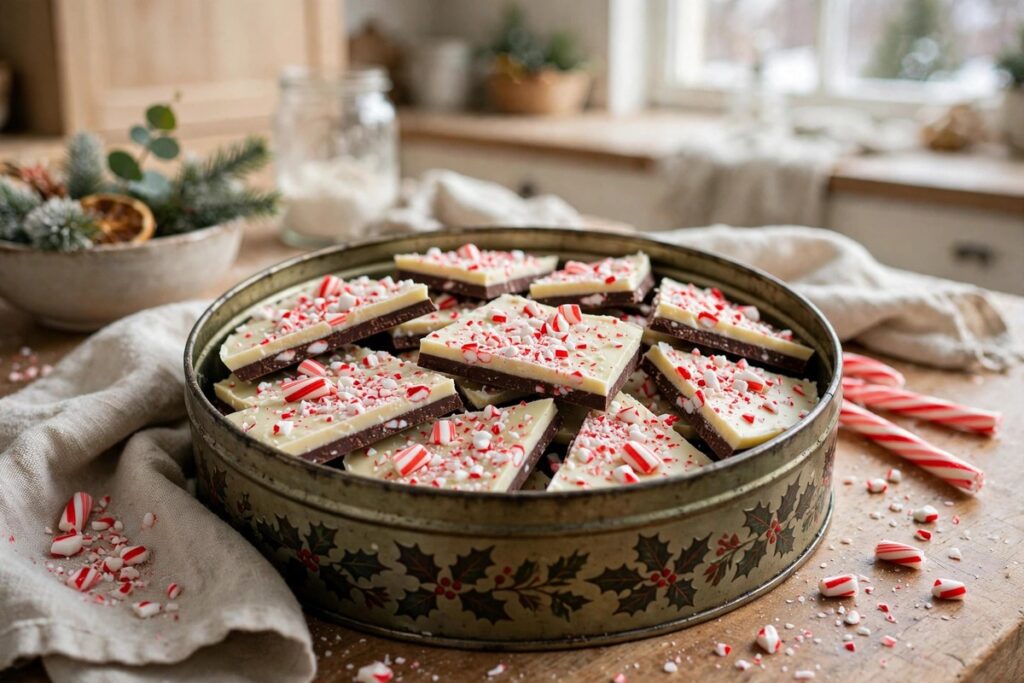
Serve it with hot chocolate or coffee, on a cookie tray with my gingerbread cookies recipe, or wrapped in cellophane as a gift. For a soft cookie to pair with this crisp bark, try this white chocolate cranberry cookies recipe.
How to Store Peppermint Bark
Store in an airtight container in a cool, dry place for up to 2 weeks, or in the fridge for up to 3 weeks. Keep layers separated with parchment. Freeze for up to 3 months and thaw in the fridge.
Final Thoughts
Peppermint bark is the sweetest shortcut of the Christmas season. If this peppermint bark recipe becomes part of your holiday gifts, I would love to hear about it in the comments.
Frequently Asked Questions
Why did my chocolate get lumpy?
It seized from a drop of water or from overheating. Use dry tools and melt on low power.
Why are the layers separating?
The bottom layer was too hard when the top layer was added. Chill only until just set.
Can I use chocolate chips?
Yes, for the dark layer. For white chocolate, bars melt more smoothly than chips.
Do I need peppermint extract?
No. The candy canes provide the flavor, so the extract is optional.
Why are my candy canes sticky or melting?
Humidity. Store the bark in a cool, dry place in an airtight container.
How do I cut it neatly?
Let it set until firm, then score it with a large knife and break it along the lines, or just break into rustic shards.
Can I make peppermint bark ahead?
Yes. It keeps for up to 2 weeks at room temperature.
Peppermint Bark Recipe
Ingredients
Equipment
Method
- Line a 9×13 inch pan with parchment paper, leaving overhang on two sides.
- Melt the dark chocolate in a dry, microwave-safe bowl on 50% power in 30 second bursts, stirring between each, until smooth. Stir in ½ teaspoon of peppermint extract, if using. Pour into the pan and spread into an even layer.
- Refrigerate for 15 to 20 minutes, until the chocolate is just set but still slightly tacky.
- Melt the white chocolate the same way, using even lower power and stirring often. Stir in the remaining ½ teaspoon extract, if using. Spread over the set dark layer.
- Sprinkle the crushed candy canes over the white chocolate right away, pressing them lightly so they stick.
- Chill for 1 hour, until firm. Lift out, and break or cut into pieces.
Leave a Reply